 Homebrewing cider
 brings the magic of
fermentation right into your
kitchen, transforming
sugar and
apple juice into a delightful beverage through the simple, yet intricate dance of
yeast. This journey from
juice to jubilation hinges on a delicate balance of
sweetness and acidity, guiding you to craft a
drink that’s uniquely yours. There’s an art to crafting
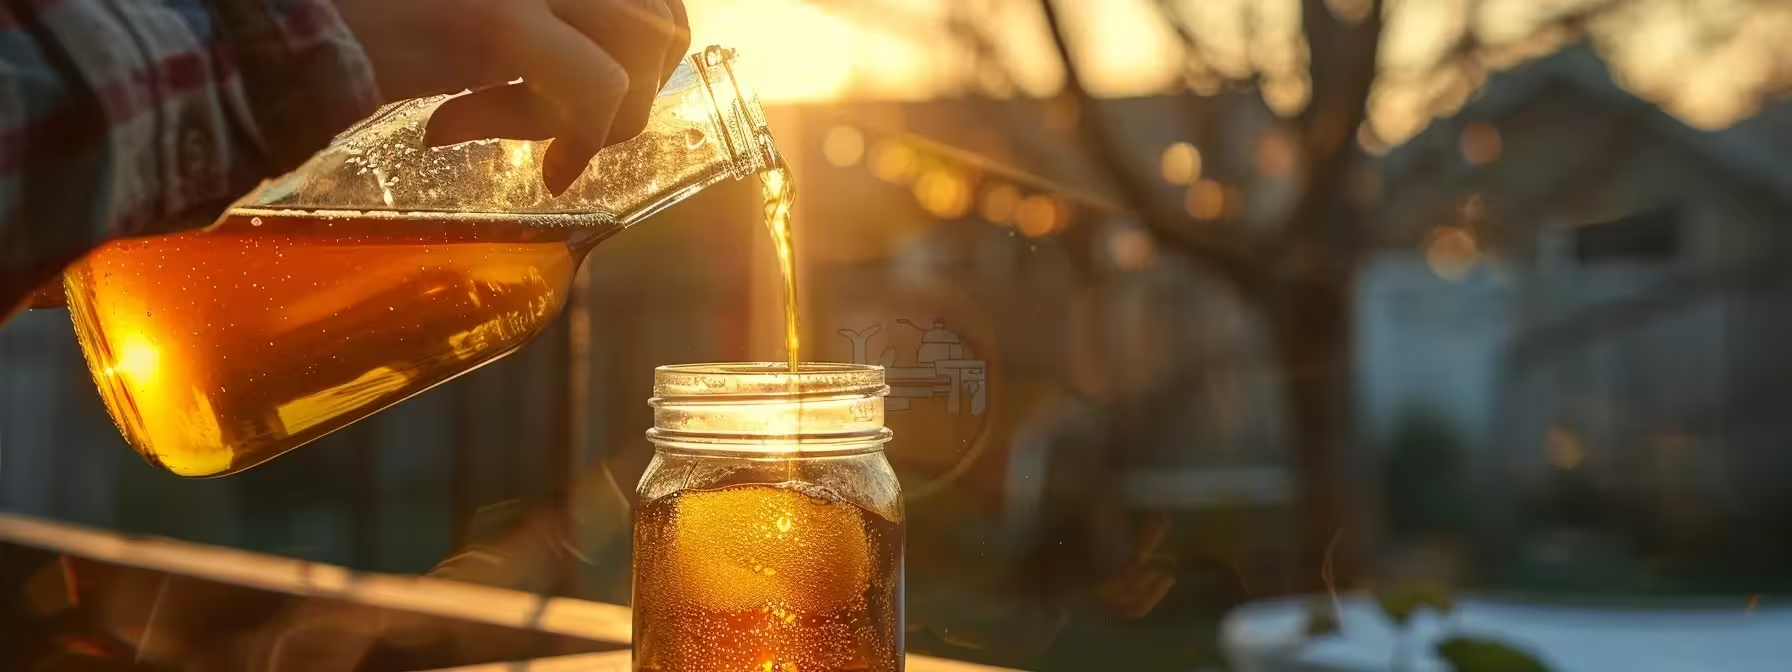
cider at home, with the process steeped in tradition and ripe for personalization. In this article, we’ll walk you step-by-step through the
cider-making process, from selecting the crispest
apple juice to the triumphant pouring of your first
glass. Keep reading to capture the essence of this time-honored craft and start creating your very own batch of homemade
cider.
What Is This Guide?

Have you ever savored a
glass of
cider and wondered if you could create something just as delightful in your own
kitchen? That’s exactly what I did before I took the plunge into home brewing. This guide is the result of countless batches and a passion for crafting a beverage that’s a perfect blend between
beer and
wine, with a refreshing twist unique to
cider.
I’m here to share my journey, with all its ups and downs, to give you a clear and straightforward path to making your very own batch of
cider. Trust me, the
taste is worth the effort. Think of the sweet, tangy kick of freshly pressed
juice married with the intricate depth of a well-fermented brew. This guide aims to demystify the process and set you on the right track.
What you’ll find here isn’t just a collection of facts; it’s an embodiment of my experience geared towards helping you dodge common pitfalls. I’ve distilled the essence of what makes a great
cider, using nothing more complex than good quality
juice and the right know-how. It’s about striking a balance that allows both novice and seasoned brewers to excel.
With this guide, anticipate a hands-on approach to turning everyday ingredients into a festival of flavors in a
glass. Whether you adore the crisp simplicity of a traditional
cider or the bold character of its applewine relatives, I’ll guide you through each step, ensuring your homebrew is a success. Let’s embark on this journey together, sharing the goal of creating something remarkable, right from the comfort of your home.
1. Introduction and High-Level Overview

Welcome to the world of home
cider brewing, where the journey from apple to zesty beverage unfolds in your own space. Kicking things off, you’ll start by equipping yourself with a few basic tools—a
bucket to ferment your
liquid gold, a
funnel for a mess-free transfer, and, of course, a sense of adventure. This is your first step toward crafting your personal batch of apple-infused delight.
Understanding the role of
heat in the process is crucial; it’s the unsung hero that can coalesce flavors or push them apart. Getting this right means orchestrating temperature control like a maestro, forming the harmony of crispness and depth in your
drink. It’s like nurturing a delicate dance between warmth and coolness, aiming for a perfect
fermentation performance.
Next, we transition to the iconic
barrel where aging takes place. Here, we let the alchemy of time and wood work its magic, imbuing your
cider with layers of character and a velvety finish. This stage makes your
kitchen feel like a miniature cidery, brimming with the anticipation of tasting your own creation.
Finally, let’s not forget the
airlock—a simple yet vital
tool in our arsenal. It safeguards your precious
cider, permitting gases to escape while barring air, the nemesis to our
fermentation, from wreaking havoc. With this guardian in place, rest assured that your
cider is well on its way to being a bubbly, aromatic batch of homemade excellence.
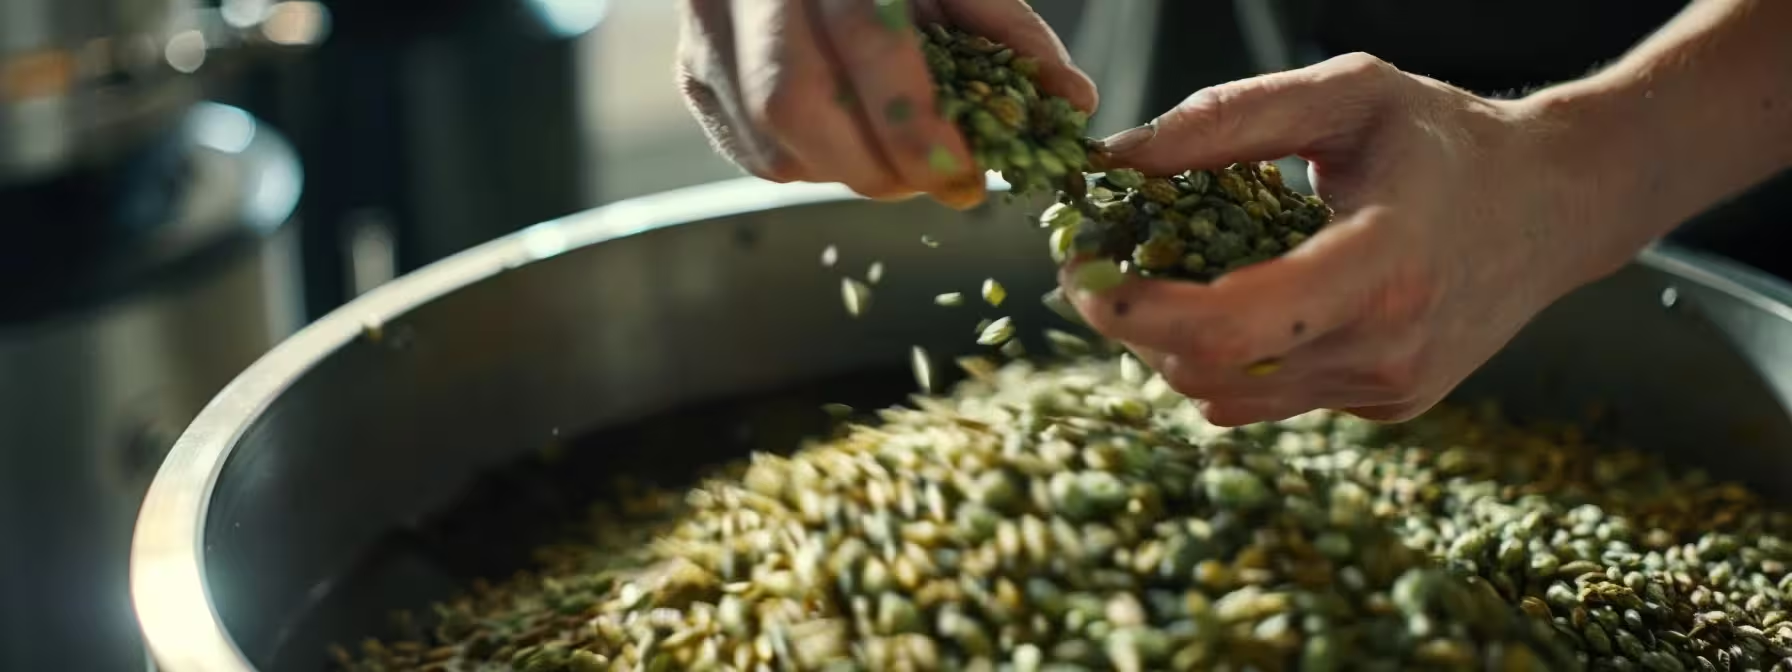
2. Gather and Prepare Ingredients
Embarking on your
cider brewing adventure starts with gathering the right players for the job. Picture your
kitchen transformed into a brewer’s haven – you’ve got your gleaming
carboy at the ready, anticipating the rich
fruit elixir it will soon cradle. But before that, let’s talk apples, the very soul of our
alcoholic beverage. Whether you’re pressing the
juice yourself or picking up pre-made
cider, ensure it’s free of preservatives to avoid hindering the
fermentation. The
yeast, a seemingly modest
ingredient, is the heart of the operation, turning natural sugars into
alcohol and
carbon – the very essence of the bubbly delight in your future
drink. Of course, we won’t shy away from peering into a chest of optional ingredients that can add complexity or a personal touch to your brew. And for those who love a challenge, we’ve got advanced ingredients that require a defter hand but promise to elevate your homemade
cider to a realm of sophistication. So, let’s get down to business and prepare to transform these humble elements into a dance of flavors in your very own crafted
cider.
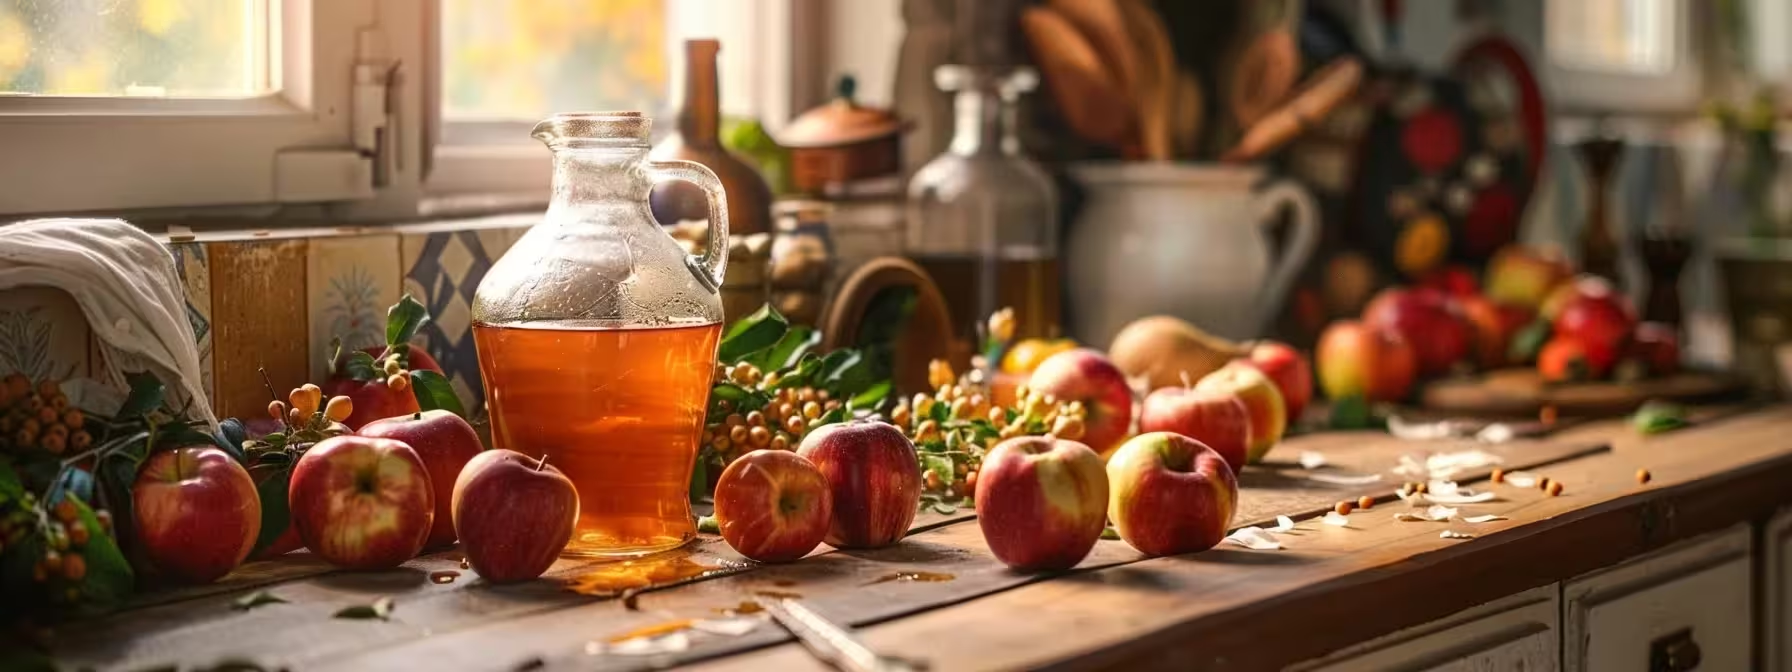
First Required Ingredient: Apple Cider or Juice
Choosing the right base for your concoction is where the art of
cider begins. Clear, sweet
apple cider is your foundation; its natural
water content becomes the medium for
fermentation where
yeast works to convert sugars to
alcohol and
carbon dioxide. The starting
cider should be fresh, free from additives that might harbor unwelcome
acid levels or
bacteria – the enemies of a brewer’s craft. Without the proper
juice, your
cider won’t have the crisp, pure flavor you’re aiming for.
Before diving into
fermentation, I sometimes add just a hint of
brown sugar to the
cider. This isn’t merely for
sweetness — it’s a careful consideration to boost the final
alcohol content while enriching the undertones of the finished
cider. But it’s a delicate balance to achieve; too much
sugar can overpower the natural tartness and complicate the
fermentation, leading to an uninviting brew rather than a harmonious, sparkling
cider that dances on the tongue.
Second Required Ingredient: Yeast
While some call
mead the ancestor of fermented drinks, in
cider-making, the adaptation of
yeast is not so different. In fact, when I take a
hydrometer reading to check
sugar levels, I am reminded that
yeast is indeed the indispensable engine of
fermentation. Without the right strain, the delicate sugars in your
glass carboy will not ferment into the robust flavors and
alcohol that define
cider.
Now, I always emphasize the value of patience to new brewers when it comes to
yeast. Adding a
yeast nutrient is one approach to guarantee a healthy, vigorous
fermentation. It’s a sight to behold—the
nutrient fuels the
yeast, and soon your
cider begins to transform, made evident by bubbles racing to the top. Once
fermentation has run its course, it’s time to
siphon the
cider into a clean vessel, a step closer to achieving that perfect
glass of homemade delight.
Optional Ingredients
Adding a
stopper and
airlock to a one-
gallon jug of
apple cider isn’t just a safety measure—it’s part of the craft. A
stopper ensures that during
fermentation, your brew is secure, while the
airlock allows the release of
carbon dioxide. My advice is to always check the seal; a secure
stopper maintains the integrity of your
cider throughout the
fermentation journey.
Drizzling
honey into the mix post-
pasteurization is something I’ve found can introduce a mellow
sweetness, adding another layer to your homebrew experience. Choosing local, raw
honey not only supports your neighborhood beekeepers but gives your
gallon of
cider a touch of regional flavor that is truly your own—an ode to the landscape from where your ingredients are sourced.
Advanced Ingredients
For those with a
taste for the craft and a keen eye on detail, selecting a specialty
ingredient like
pectin might be the gateway to clarity.
Pectin helps your
cider achieve that crystal-clear appearance we often admire. But beware, working with it demands an understanding of the right moments in
gravity reading to introduce it, ensuring your creation stays true to its envisioned perfection.
I’ve seen more experienced brewers flirt with the notion of adding sulfites, dabbling with the compound to stave off wild
yeast and
bacteria – a precise process that might intimidate the novice. Deciding on the right moment to introduce sulfites requires vigilance; too early and you might hinder
fermentation, too late could mean risking
contamination. It’s a balancing act that, once mastered, can safeguard your
cider all the way to the
beer bottle.
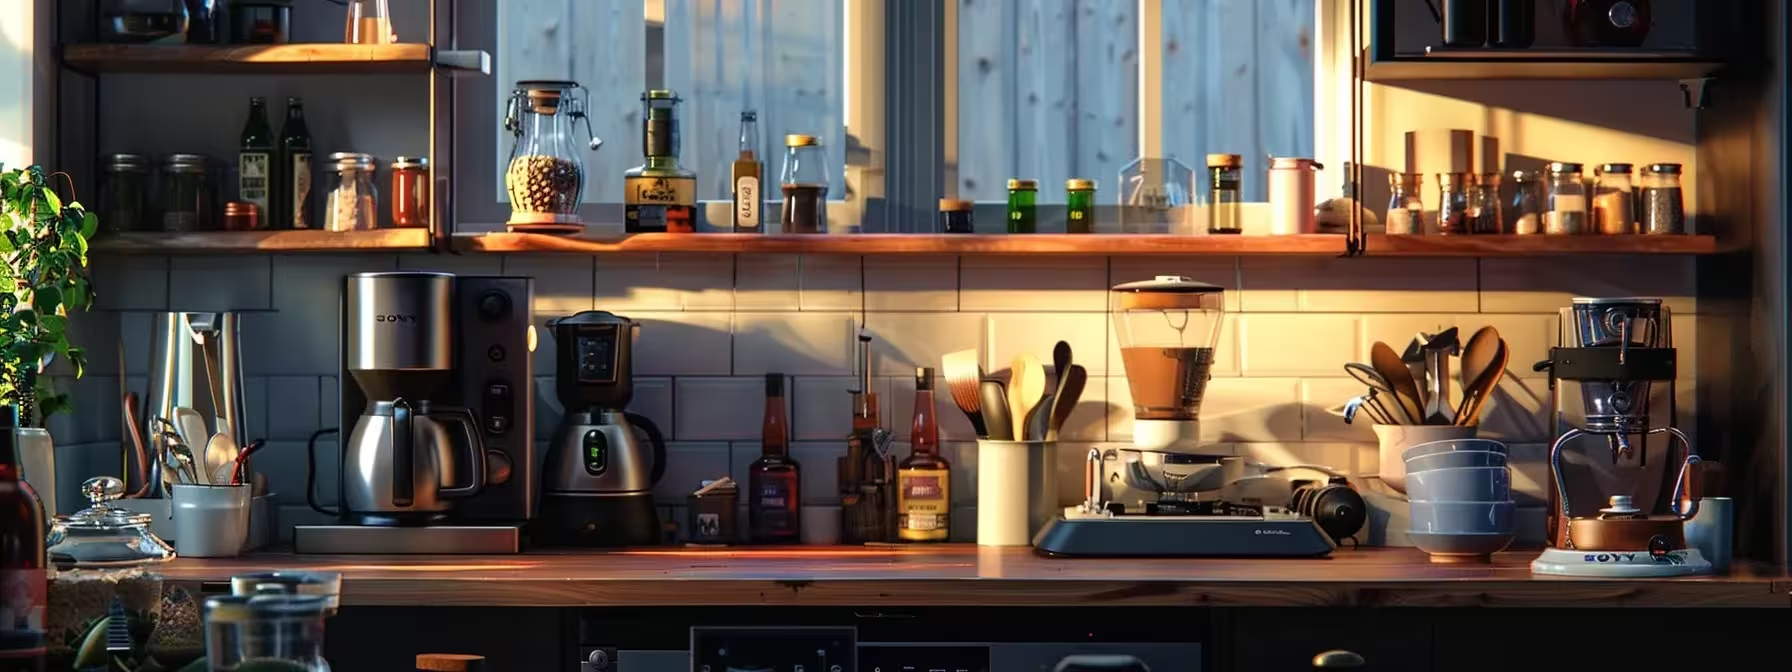
3. Gather and Prepare Equipment
Before we dive deep into the world of home
cider-making—where the delicate dance of
tannin and
sweetness comes to life in your
glass—there’s a
bit of setup to do. Alright, let’s roll up our sleeves and talk shop about the gear you’ll need. Picture your
kitchen transforming into a brewer’s laboratory: everything from the simple
plastic bucket for initial
fermentation to that moment of triumph when you’re cradling a
bottle of your own
cider, evocative of the finest
champagne, ripe with the robust
taste of your chosen
cider apples. I’ll walk you through the essential equipment, advise on a few helpful extras, and for those ready to take it up a notch, suggest some advanced gear that, while not mandatory, could be your ticket to a
cider that stands out in the crowd. But, you know, equipment doesn’t have to be fancy or break the bank. Your main focus? Clean, functional, and suited to the task at hand—creating
liquid art.
Required Equipment
Gathering the required equipment for your home
cider brewing is all about sticking to the basics. You’ll want a
fermentation vessel—a
carboy or
bucket that’s reserved specifically for your brewing purposes, ensuring there’s no cross-
contamination or lingering preservatives that could throw off your batch. Trust me, the aim is to maintain your
liquid‘s purity without interference from unwanted residues or flavors.
Another critical piece of equipment is a
fermentation lock, crucial for keeping that batch free from
sulfur compounds that might sneak their way into an open container. I also recommend getting your hands on a few spices, such as
cinnamon sticks, which you can introduce to your brew for a warm, inviting undertone. Remember, the right equipment acts as a guardian for your
cider, safeguarding it from unwanted guests and elevating the profile of your chosen blend.
Optional Equipment
One optional piece of equipment I’ve found quite beneficial is a dedicated
refrigerator for controlling
fermentation temperatures. It’s not just about keeping brews chilled; a consistent low temp can slow
fermentation if you’re aiming for a
cider that’s rich with
concentrate flavors reminiscent of an
orchard in autumn.
Additionally, while you might be tempted to go all out with fancy gadgets, sometimes it’s the humble
jug that becomes a brewer’s ally. When experimenting with smaller batches or concocting
apple cider vinegar, having several jugs on hand simplifies the process, making it easy to manage and monitor multiple projects at once.
Advanced Equipment
When you’re aiming to perfect your craft and control every variable, a
sugar substitute can become an ally. Many home brewers who are conscious about their
alcohol content or calories turn to options like xylitol or erythritol to dial the
sweetness up or down without adding to the
fermentation process.
Another piece of gear I’ve found invaluable is a fining agent, like
potassium sorbate, which keeps
sediment at bay and extends the shelf-life of your
cider without affecting its natural
tree-derived flavors. It’s a step that appeals to brewers who take pride in the clarity and stability of their
cider, making it a smoother sip from start to finish.
4. Cleaning and Sanitizing

Stepping into the next phase of our home-brewed
cider venture, we must tackle an aspect often glossed over in glossy advertisements, yet it holds an irrefutable place in the foundation of a successful brew: the distinction between cleaning and sanitizing. With a
keg of potential awaiting us, one must remember that immaculate equipment is more than just visually pleasing—it’s a keystone to prevent spoilage. Cleaning removes visible residue, allowing the potency of sanitizing agents, often
potassium or
enzyme-based, to contact all surfaces. This guarantees that what you ferment is a true representation of skill, not an unfortunate science experiment. Mind the
pH levels of your sanitizers too; they are vital in securing a pristine environment where your
cider can flourish unthreatened by wayward microbes.
Cleaning vs Sanitizing
I’ve learned firsthand that brewing
cider is more intricate than it seems, and a key factor to success lies in the nuances of cleaning versus sanitizing. After racking the
cider to separate it from the
lees, the
sediment comprised of
yeast and
malic acid that settles during
fermentation, it’s imperative to clean all equipment thoroughly, dislodging any debris. I can’t be too careful; any remnants can spoil the delicate balance of flavors I’ve worked so hard to achieve.
Once the vessels are spotless, sanitizing begins with diligence. I use a small
teaspoon of sanitizer, ensuring it mixes evenly throughout my equipment. This step is crucial, especially after an
oak chip has lent its character to my concoctions, creating a
cider that could rival the offerings of any seasoned
cider mill. I’m not just brewing; I’m creating an environment where my elixir can mature without the threat of unwanted bacterial guests.
5. Primary Fermentation

Embarking on primary
fermentation feels much like a rite of passage for me. Each step of the process requires a certain finesse, blending science with artistry – it’s where the sweet potential of the apple must confront the rigors of brewing. The unfermented sweet
cider, brimming with natural sugars and a bold apple profile, is now about to be reshaped, its
sweetness just a starting point. Before introducing the
yeast, critical adjustments are in order. Ensuring that there’s just enough
oxygen without compromising the integrity of the brew is like walking a tightrope. A gentle stir with a sterile
spoon helps oxygenate the
juice, a vital step before the
fermentation kicks off. It’s this
oxygen that helps the
yeast flourish early on, giving them the boost they need before closing the environment off from the air. Next, it’s all about precision; checking the original
gravity of the sweet brew is key to forecasting the
alcohol content and understanding the
fermentation trajectory. A reliable reading hints at the balance of
sweetness and potential for
alcohol, steering the
cider toward its finished state. After making the necessary pre-
fermentation adjustments and getting my
yeast ready, a prudent sprinkle into the waiting
liquid soon turns into a union. Sealed carefully, often beneath an
airlock, the anticipation in the brewer’s heart grows akin to the
yeast’s activity under the
skin of the
liquid. Now comes the hardest part – the waiting – but it’s something I’ve come to appreciate. As the brew rests, undisturbed, the transformation within the
carboy begins, a slow dance between natural sugars and
sodium, a time where the magic of brewing takes center stage.
Pre-Fermentation Adjustments
Before the primary dance of
fermentation begins, I pay attention to the nuances of my base
liquid. If I decide to incorporate
pear into my
cider mix, this not only adds a different flavor profile but also affects the
density of the
juice. It’s here that my trusty
hydrometer becomes an indispensable
tool, allowing me to measure this shift and make adjustments to ensure a balanced
fermentation process.
Maintaining a vigilant watch for signs of
contamination is always high on my brewing checklist. Whenever I introduce additional flavors, like a homemade
pear syrup, my cleaning routine is meticulous. I take extra care to ensure that every utensil and container that comes into contact with my brew is sterility personified, preventing any unwelcome interference in the delicate balance of my
cider creation.
Measure Original Gravity
Measuring the original
gravity, I’m essentially assessing the
density of the
liquid as compared to
water. This step is a tell-tale for the amount of
glucose present, which
yeast will feast on to produce
alcohol. It’s a customary ritual in my home brewery to record this number at
room temperature, ensuring accuracy before the grand transformation begins.
The sugars I might have introduced, typically from the
juicer processing or even a dash of
maple syrup for depth, all contribute to the initial reading. Now, if I were making a
perry, which is
cider‘s
pear-based cousin, factoring in the different
sugar content is crucial since it can significantly influence the
fermentation journey and the final
taste of my brew.
Pitch the Yeast
Pitching the
yeast, in my experience, hinges not only on timing but on unerring
sanitation and temperature control. Before I scatter the
yeast, my trusty
thermometer confirms that the
cider‘s temperature is ideal, meaning it’s neither too chilly to stunt the
yeast‘s verve nor too warm to stress them into producing off-flavors. A spotless
stainless steel spoon, a testament to meticulous cleaning, is what I use to stir the
yeast into their new fruity abode, leaving nothing to
luck when it comes to
food preservation.
The moment the
yeast enters the
juice,
fermentation‘s invisible yet invigorating dance begins. As a brewer, I’ve learned that
sanitation at this juncture isn’t merely about cleanliness; it’s about ensuring the
yeast‘s dominion over their sweet
liquid kingdom. Drawing on each skill I’ve honed, every meticulous effort here underpins what is more than a brew; it’s an expression of the art and science of transformative preservation.
And Now We Wait
As the brew sits quietly, I sometimes imagine the day I’ll be popping the
cork on a
bottle of this homemade apple concoction. In a few weeks, will it carry a hint of
cherry, boldly distinguishing itself like a well-aged
liquor? Or might it be as pleasantly surprising to the palate as discovering a new
craft beer brand?
The wait is a brewer’s testament, a quiet nod to the craft where anticipation builds with each passing day. I resist the urge to peek, preferring instead to trust in the process that’s so akin to the maturation of a fine spirit—patience now will yield a
cider that commands respect, like a masterfully distilled
liquor.
6. Racking
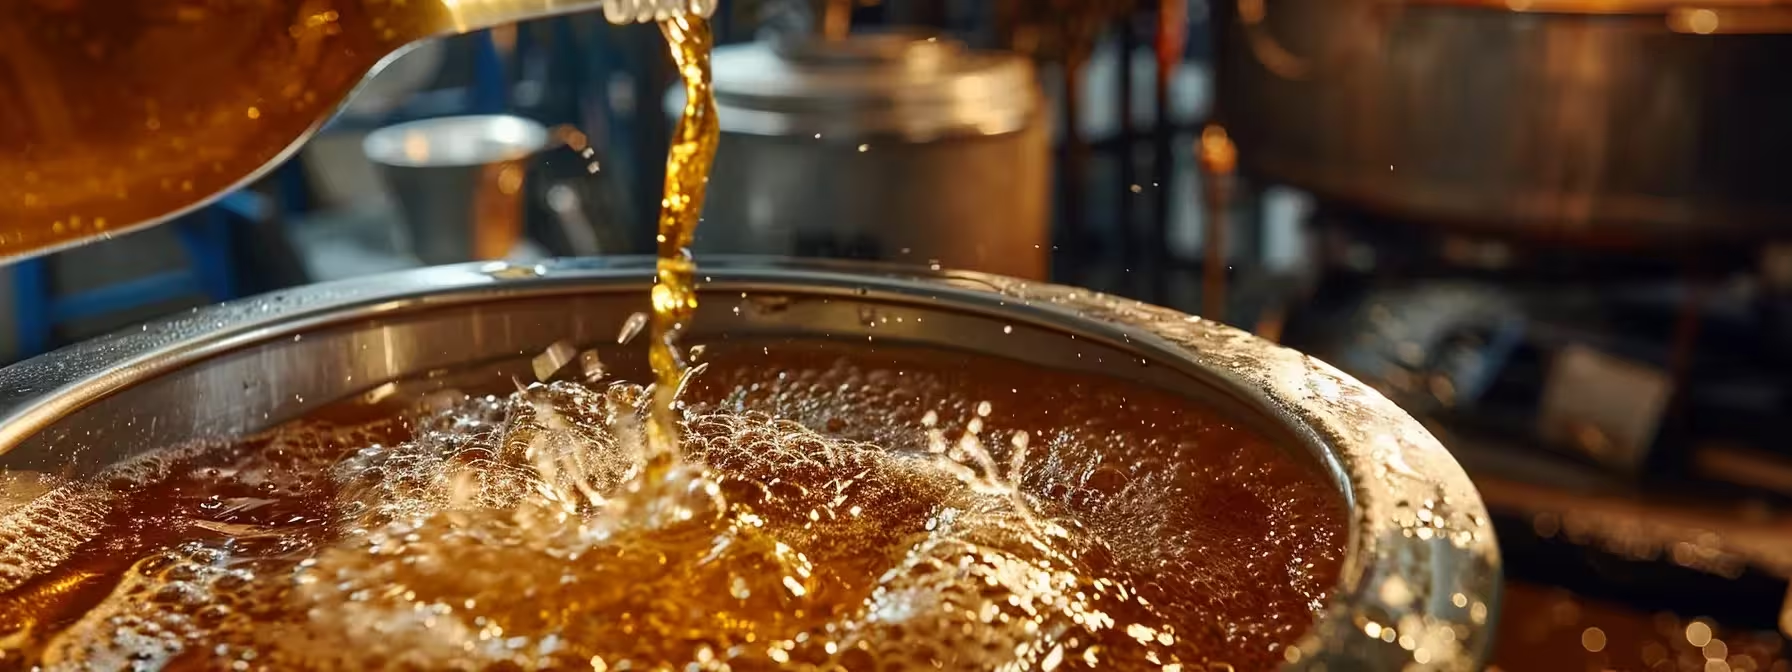
Now that our
cider has undergone its initial transformation through
fermentation, it’s time to discuss racking – an essential step not always flaunted in
advertising but integral to crafting a clean and clear
cider. Whether by hand or with the help of a
siphon, transferring your beverage from one container to another is a moment of truth. Using a
steel siphon, I carefully avoid disturbing the
sediment that’s accumulated at the bottom of the
fermentation vessel. As I do this, I can’t help but think of how the
cider‘s flavor profile – perhaps with undertones of
vanilla or the sharpness reminiscent of
apple cider vinegar – will crystallize during this next stage. And for those moments where precision and tools fail, even something as unassuming as a
balloon can serve as a barometer of
fermentation activity. Whatever the method, racking is a step that brings us closer to the clarity and purity we seek in our homemade
cider.
How to Rack by Hand
During my first few ventures into
cider making, I found myself in the
kitchen, racking by hand with the kind of focus that some might reserve for a cherished
recipe. Gently moving the
wort from the fermenter while taking care not to stir up any settled
yeast, for me, involves a
siphon tube, patience, and a steady hand so as to preserve every
bit of flavor developed during
fermentation.
Securing the
bottle cap on the receiving vessel is a satisfying climax to the racking process, signalling the near completion of a batch. Truth be told, the simplicity of hand-racking in my
kitchen, without reliance on mechanical pumps, lends an intimate touch to my homebrew, embedding a
bit of my personal brewing narrative within each
bottle of
cider.
How to Rack Using a Siphon
Transitioning to the siphoning stage, I consistently check my
email address concerning any messages from fellow brewers regarding the technique. Siphoning is an exercise in managing
pressure, and my technique strives to avoid disturbing the
lees. As the
siphon draws the mature
cider into a clean vessel, I carefully monitor the flow to prevent any
foam from bubbling up, which could indicate excess aeration and risk the
cider‘s smooth profile.
Ensuring complete transfer of the
sugar alcohol-rich
mixture minus the
sediment, I keep the tube’s end just below the surface, gradually lowering it as the level falls. The technique requires a delicate balance, a gentle hand to guide the
siphon, avoiding any rush that could agitate the
cider. It’s a process that reveals the clear separation, a testament to my patience and the
cider‘s readiness for its next metamorphosis.
7. Secondary Fermentation

Once the initial buzz of
fermentation has subsided, you’ll find me quietly prepping for the secondary stage, a phase less about action and more about refinement. It’s not so much starting afresh but continuing the transformation under new conditions — the
cider moves to a secondary vessel, leaving behind most of the
sediment.
I tend to lean into this period with a keen sense of observation, noticing the subtle changes in clarity and flavor. At this point, the
cider‘s slow bubble through the
airlock is a comforting testament to the ongoing
fermentation, a gentle reminder that the brew is evolving, achieving a smoother character with each passing day.
During this quieter course of
fermentation, it’s about patience as the
cider matures. I keep a watchful eye for any unexpected changes, ready to intervene if needed, but more often than not, it’s a steady journey to a more polished and complex brew.
The tail end of secondary
fermentation is marked by a sense of expectation. Soon, I’ll be tasked with deciding when the moment is just right to
bottle the
cider, and it’s always a
bit exciting to anticipate the flavor profile that will greet me when I finally pour that first
glass.
8. Finishing Adjustments
As we approach the finish line of our home brewing odyssey, we’re facing the stage where a good
cider gets its final polish to become great. This involves tweaking the balance of flavor, fizz, and
sweetness to align perfectly with your
taste buds. Adding hops,
oak chips, or spices can shape the brew’s flavor profile, while the amount of carbonation will affect its mouthfeel and appearance. To get the
sweetness just right, I may back-sweeten the batch post-
fermentation. It’s about fine-tuning those last details that transform a standard homebrew into your signature
cider, a reflection of your personal brewing style.
Flavor Adjustments
As I stand poised at the precipice of completing my
cider creation, I take stock of the flavor. It requires a deft touch; a drop too much of
vanilla or a pinch too little of
spice can sway the balance. So, I judiciously adjust, seeking that flavor zenith where each sip is an echo of the harvest’s peak.
My palate is the final judge, arbitrating the subtle interplay of tartness and
sweetness in the amber
liquid before me. A cautious measure of
sugar may craft the final note to the
cider‘s symphony of flavors, ensuring every
glass resonates with the intended character – robust, refined, and unmistakably homemade.
Carbonation Adjustments
Adjusting carbonation is like fine-tuning an instrument before a performance, it needs a practiced touch. I usually prime my
cider with a precise quantity of
sugar before bottling; this small gesture is what breathes life into my
cider, providing the effervescence that defines a refreshing glassful.
Deciding on the level of fizz in my home brew is a personal affair. I aim for a gentle sparkle, reminiscent of early morning dew on apple orchards, nothing overwhelming, just enough to enhance the
cider‘s innate vivacity and charm.
Sweetness Adjustments
When the
fermentation calms and the starter
cider has lost its initial
sweetness, I contemplate the final profile of my brew. If after tasting I find the
cider too sharp, I consider back sweetening it – adding a conservative amount of
sugar to bring back the apple’s whisper of innate
sweetness.
Back sweetening shouldn’t be rushed or haphazard; it’s the careful calibration of flavors that can elevate a simple homemade
cider to the stature of a curated
drink. Ensuring the
cider is stable, I gradually mix in the
sugar, unearthing the
orchard-fresh
taste that makes the home brewing process truly worth the wait.
9. Bottling
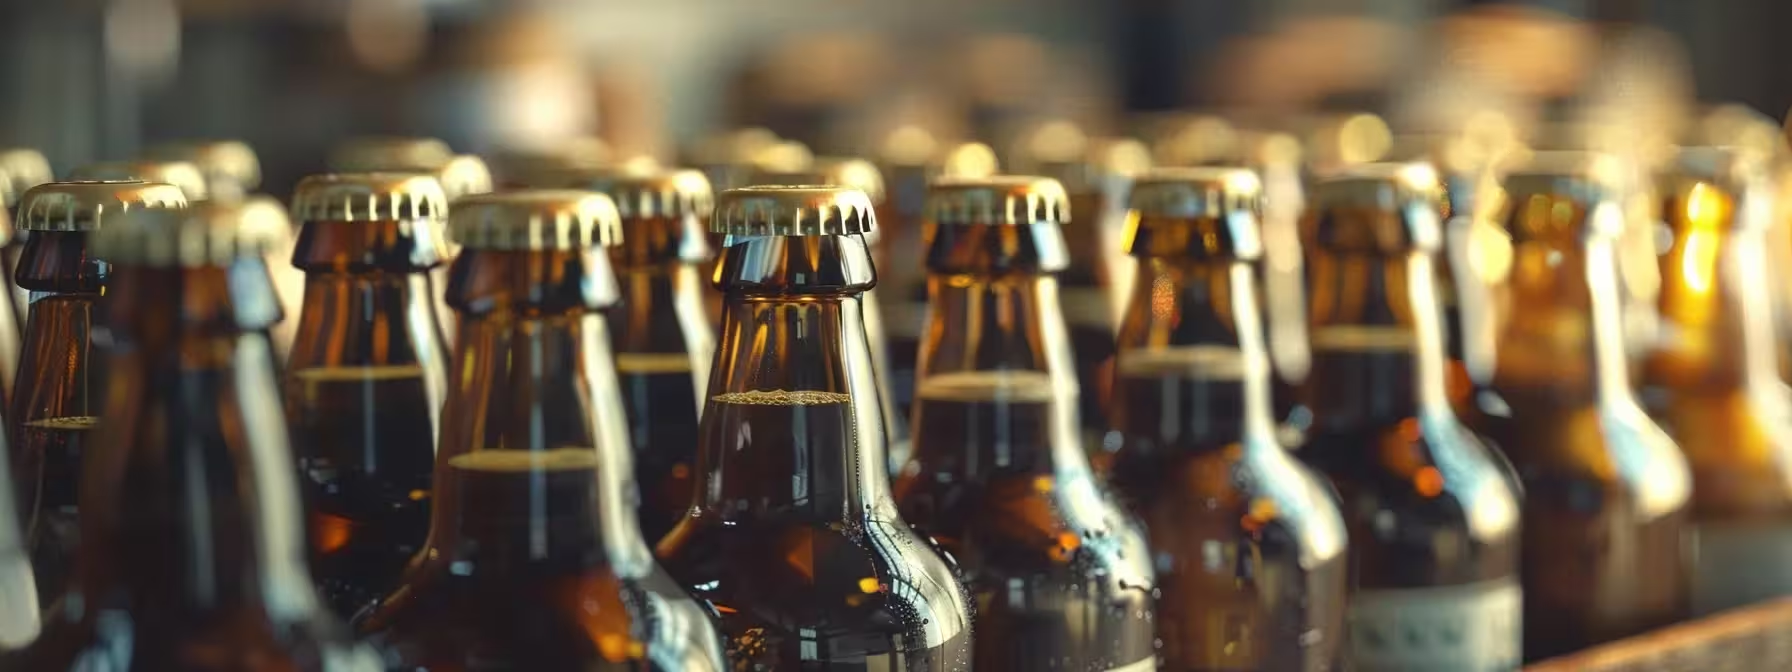
Approaching the final stages of home
cider brewing brings a sense of accomplishment and eager anticipation. It’s about breathing that last breath of care and craft into my creation. The sanctity of sanitizing cannot be overstated – it’s a step as crucial as any other in the brewing process, forearming my
cider against unwanted microorganisms. The art of bottling then captures the essence of the labor and love that have gone into the
cider‘s creation, beginning its transition from fermenting bubbly to storied
drink. Aging, the silent and patient partner in the process, allows the flavors to meld and mature into a
cider that’s not just enjoyable but memorable. These final whispers of the craft ensure the bottled alchemy is preserved at its peak, ready for the day when the seal is broken, and the first sip is savored.
Sanitizing
Before a single
bottle is filled, my focus sharpens on the imperative task of sanitizing. It’s a step that’s less romantic than bottling day imaginings, but I treat each vessel with a rigorous cleanse because I know that this is what protects the delicate flavors of my crafted
cider.
Each
bottle, ready to cradle the
fruit of my labor, is stripped of any contaminants through careful sanitization. Ensuring that each
bottle is a sterile sanctuary for the
cider, I safeguard the hard work and time invested into every drop awaiting its final destination.
Bottling
As I
bottle my
cider, the air is thick with expectation, each
bottle capturing the culmination of seasons and toil. My hands, steady from experience, fill each vessel, offering a silent nod to the
orchard fostered flavors now encased in
glass, waiting to unfurl with time.
Ensuring each cap seals in the essence of the brew, my
kitchen becomes a bottling line led by a single craftsman. This ritual is not just preservation but a promise to the future, where each pop of the lid will be a celebration, not just of the
cider within, but of the journey from
tree to table.
Aging
The ritual of aging is akin to sending a letter to the future; where my efforts sit in quiet transformation. Concealed from the world, the sealed bottles rest, the
cider‘s flavor gaining depth and complexity with each day that passes, telling a story of time and patience when finally uncorked.
My brewing experience has taught me that the aging period is not merely passive waiting—it’s an active transformation where sharp flavors mellow and merge, creating a balanced harmony that can be achieved in no other way. It’s during this quiet maturation that my
cider takes on its final, rich character, rewarding me for the waiting game that so defines the craft of
homebrewing.
10. Drinking
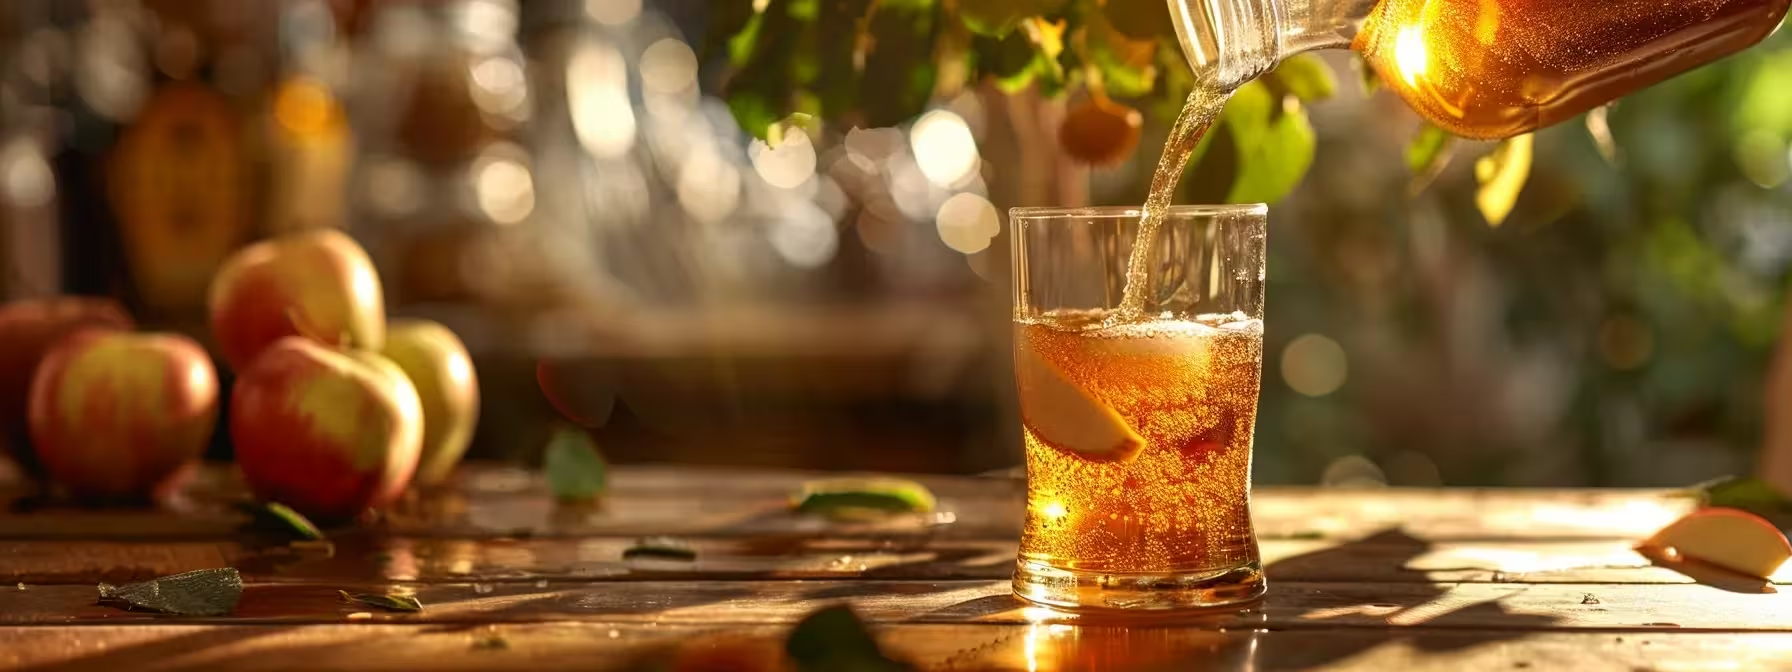
When the time comes to finally
taste the fruits of your labor, there’s an elation that’s hard to put into words. You’ve waited through the
fermentation, monitored the aging, and now, with the crack of the seal and the hiss of the carbonation escaping, here’s the moment that makes all the patience and effort worthwhile. Pouring the
cider into a chosen
glass, you take a moment to relish the color and aroma before the first sip.
With each
taste, I search for the various notes I endeavored to craft into existence. The crispness, the
sweetness, or the tart edge – they’re all markers of the success of my endeavor. It’s a validating experience that offers a tangible reward, a
glass of
cider that is uniquely mine, born from an array of decisions made in the quiet of my
kitchen.
Sharing the
cider with friends and family is an added joy, a communal appreciation of
homebrewing that turns each
glass into a story. Their feedback becomes a part of the brewing narrative, contributing to the evolution of future batches. It’s a shared experience, one where the buzz of conversation over glasses serves as the perfect backdrop to the fizzy symphony in each sip.
After the immediate celebration, I also like to quietly reflect on the process. I consider what worked, what didn’t, and what I might change next time. This isn’t just the end of a batch but the beginning of a new chapter in my
cider brewing journey, armed with more knowledge and an ever-growing excitement to improve and innovate with each new iteration.
Conclusion
Crafting
cider at home allows you to tailor the beverage to your personal flavor preferences, bridging the gap between novice brewers and artisanal mastery. The guide equips you with the necessary skills and information to transform fresh
apple cider into a bubbly, homemade delight through a meticulous brewing process. Each step, from
sanitation to bottling, is a testament to patience and precision, ensuring a high-quality end product. Ultimately, this journey not only yields a unique and satisfying
cider but enriches your understanding and appreciation for the art of home brewing.